Access Dashboard
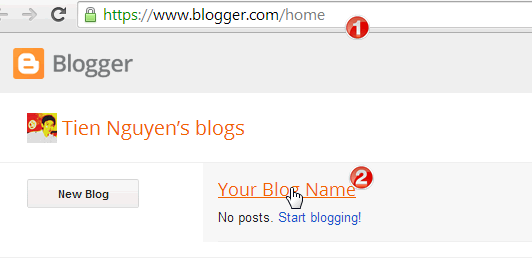
Now, just log in to Blogger Home and click on your blog name that you want to access its dashboard.
Create post
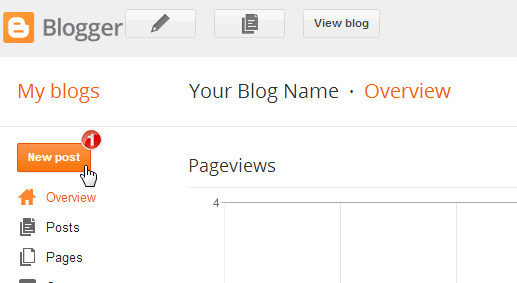
In your blog dashboard, click New post button to start creating a new post.
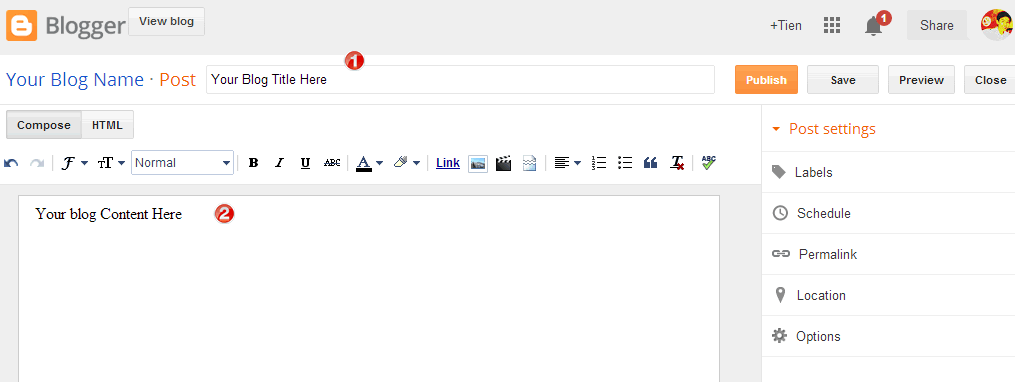
In new post window, input your post title (1) and content (2)
Post Settings
On the right side, you can see all post settings:
- Labels: input labels (tag, category) for post, separate by commas, maximum 20 labels only.
- Schedule: you can click “Set date an time” to pick a publish date time for post. If the date time is in future, the post will be scheduled for publishing.
- Permalink: Opt in “Custom Permalink” to input your own custom link for post
- Location: you can attach location for post by searching a place in this setting.
- Options: misc settings for posts.
After update any setting, click Done to finish.
Insert media
On the tool bar of post editor, you can click on Image icon to start uploading your image into post.

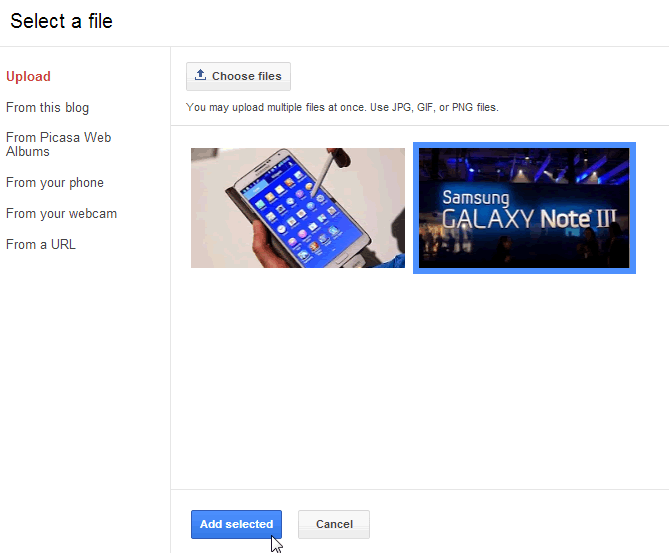
In Select a file window, click Choose files button and locate your images from your computer.
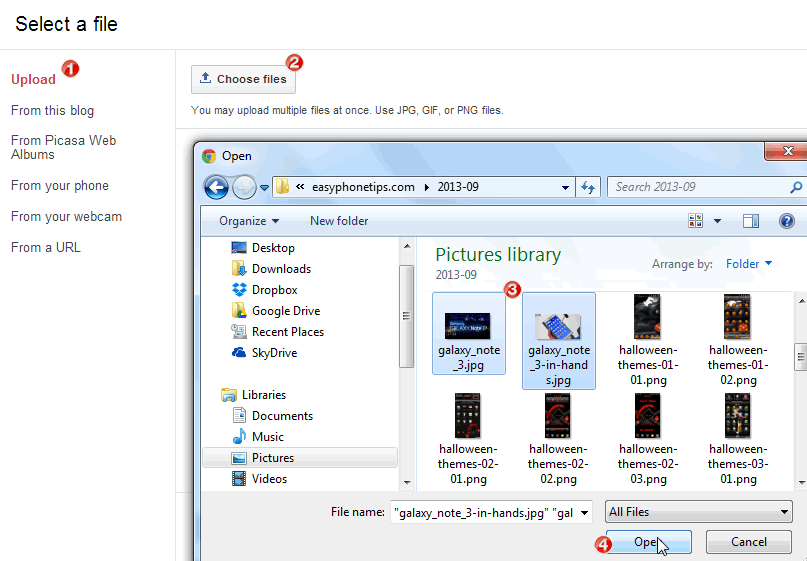
After uploaded, you can select a single or multi-files for inserting into post, then click Add selected button to finish.
To upload video, click Video icon on post editor tool bar, and do the same steps with uploading image.

Finish
We recommend you insert Jump Break (read-more point) manually into your post by click Insert jump break icon on post editor tool bar. This will help you blog load faster in blogroll pages (home, archive, search, label).

Finally, click Publish button to publish your post, or you can also click Preview button to preview your post before publish it. Or you can click Save to save the post to draft and you will edit it in next time before publishing it.


